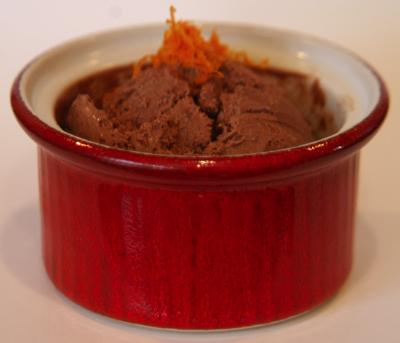
Chocolate Gelato Recipe
 Most of the gelato-philes I know have a signature flavor combination they get, most often when trying out a new gelateria, which they use to judge how good a place is. For many of my friends, one of those flavors is chocolate. So, when I first got my home ice cream maker I wanted to find a good recipe for chocolate gelato. I tried a few, but they were either more work than I was interested in doing (I am perhaps the laziest cook ever) or they just weren’t chocolate-y enough (I’m one of the people for whom “milk chocolate” isn’t proper chocolate). So I modified one of my other Italian gelato recipes and came up with a chocolate gelato recipe I completely love.
>> Be sure to check out my other Italian recipes on this site!
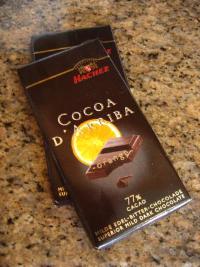
As you can imagine, the key ingredient in this recipe upon which the success or failure of the gelato hinges is the chocolate. If you use a cheap chocolate bar that’s got more filler than actual chocolate, then you have no one but yourself to blame when the gelato ends up tasting chemically. I make sure the chocolate bars I use for this gelato are high-quality and have a high cocoa content (at least 50%, and it’s even better if it’s 70% or more). Yes, I’m paying a bit more for these bars than I would for an ordinary candy bar, but it’s worth it. Trust me on this one.
Two things you should take into consideration in this recipe are the quantity of the chocolate you’re putting in, and the flavor of the chocolate bar. You can adjust how chocolate-y you want your gelato to be by putting in more or less chocolate bars, so if you want to try to re-create the near-black cioccolato fondente you had in Italy, you’ll probably end up putting in way more chocolate than I’ve got listed below. Experimentation in this department is especially fun.
 And I find that using flavored chocolate bars makes for interesting gelato flavor variations without additional ingredients, which is a huge plus to a lazy cook like me. In other words, if you’ve found a divine dark chocolate bar that’s flavored with orange essential oil or lavender, then your chocolate gelato will have a hint of that flavor without requiring you to go out and buy orange or lavender essential oils. (One note on the flavored chocolate bars is that if there are chunks of something in your chocolate bar – like orange peels or hazelnuts – they may be difficult for your ice cream maker to handle. It’s best if the flavoring is through oils only, or if the chunks are very small. You can add chopped nuts or whatever else you like to the finished product after it’s gone through your machine.)
This recipe is really begging for experimentation, and it’s really hard to screw it up – you may not end up with the right chocolate-y level on your first try, but it’ll still be damned good.
Gelato di Cioccolato
Chocolate Gelato
Ingredients
- 2 egg yolks, lightly beaten
- 1/2 cup sugar
- 1 cup whole milk (I often use skim, because that’s what I have on hand, but it’s better with whole milk)
- 2 3.5-oz high-quality chocolate bars
- 1/2 tsp vanilla extract
- 1 cup half-and-half or whipping cream (your choice – I prefer whipping cream)
- 1-2 capfuls vodka, using the vodka bottle’s cap to measure (optional)
- 1/4 tsp essential oil (optional)
Directions
- Put the beaten egg yolks, sugar, and milk into a small saucepan, and then turn the heat onto a relatively low setting. Cook this mixture, stirring regularly (it’s not necessary to stir constantly) until it’s slightly thickened and it coats the back of a spoon. I find that the eggs don’t tend to dissolve completely unless I use a small wisk in the beginning as the mixture is melting together. And if you’re using a wooden spoon and you can’t really see it coating the back, another indication that it’s getting thick enough is when it starts to coat the sides of the pan as you stir. (You can also test it with a metal spoon!)
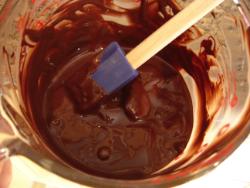
- As the milk/sugar/egg mixture is heating up, break up the chocolate bars into pieces and put the pieces in a microwave-safe dish. Melt slowly in the microwave on a medium power setting, stirring frequently, until the chocolate is melted (take care to not let it burn!). I tend to do this in 20-30 second increments on about power level 5-6, and when there are only a few smaller lumps left I can usually make them melt by just stirring them into the already-melted chocolate.
- If you’re adding a flavor via essential oil to your chocolate, this is when to do it. Give the melted chocolate a taste-test, and if it’s not flavored enough with the oils that are already in the chocolate bar (or if you’re using plain chocolate and want to give it a new flavor), then add the essential oil to the melted chocolate. Start slow, with 1/4 tsp of the oil, and stir it all together. Then you can taste it and decide whether to add more oil. A little essential oil goes a long way, so proceed carefully!
- Whether or not you’re adding a essential oil to the chocolate, you should add the vanilla to the melted chocolate and mix it in completely.
- When the milk/sugar/egg mixture has thickened to the right consistency, remove it from the heat.
- Pour the whipping cream (or half-and-half, whichever you’re using) and the melted chocolate into the saucepan with the milk/sugar/egg mixture and mix thoroughly until well-blended.
- This is when I add the vodka – I usually use 1-2 capfuls (using the vodka bottle cap), and it’s not there to impart flavor. It’s only there to help make the gelato more easily scoop-able without letting it sit on the counter for 15 minutes. (I’m impatient.) You can experiment with flavored liquor here as well, if you’d like (peppermint schnapps would be a lovely addition to chocolate-mint gelato, for instance), and of course you can leave the alcohol out altogether.
- Pour the mixture into a container (I like ones that have a spout for easy pouring later) and cover with plastic wrap so that the plastic actually touches the liquid – this keeps it from forming an icky “skin” in the cooling process. Put the container in the fridge.
- Cool the mixture to at least room temperature (I often leave it in the fridge overnight) and then freeze it according to your ice cream maker’s instructions. Store the finished product in an air-tight container. It’ll likely need to set in the freezer for a couple of hours before it’s really ready, but if you like soft-serve (or just can’t wait that long) you can always sample it straight from the machine!
- If you’re using alcohol in your gelato, you should be able to take it out of the freezer right when you want to eat it. If you’re skipping the alcohol, you may need to let it sit on the counter for 10-15 minutes before it’s easy to scoop.
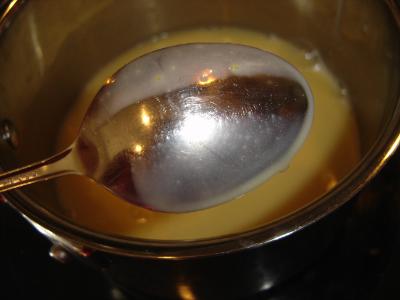
You can see the mixture coating the back of this spoon; I ran my finger down the center of the spoon to show the custard thickening.
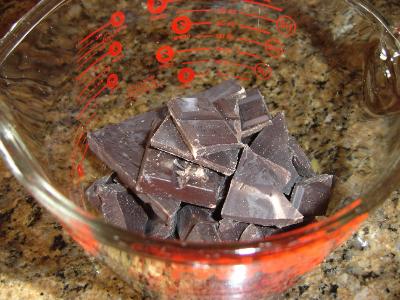
Chocolate pieces ready for melting
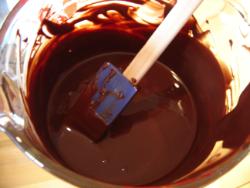
Left: Not quite smooth… Right: Completely melted
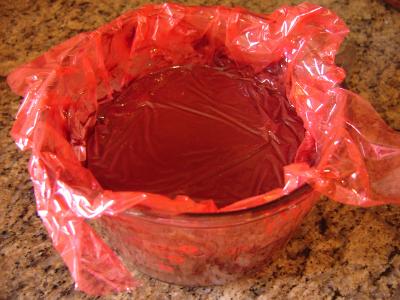
You don’t have to use bright pink plastic wrap.
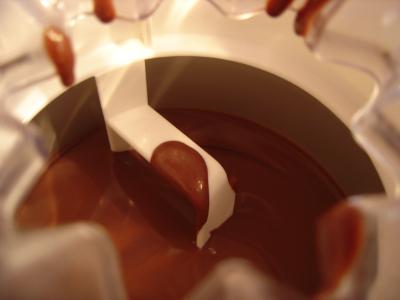
Gelato mixture just after it’s been poured into the ice cream maker
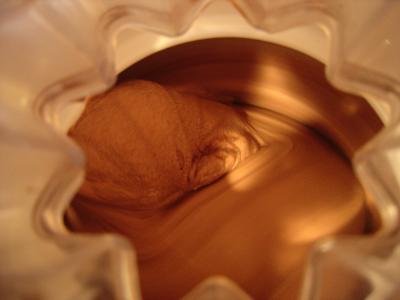
Gelato thickening nicely
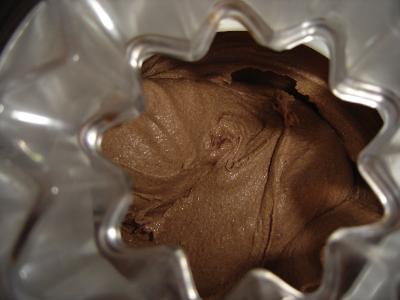
This is about when I’d consider the gelato “done,” in that it can be removed from the ice cream maker and retired to the freezer for further setting.
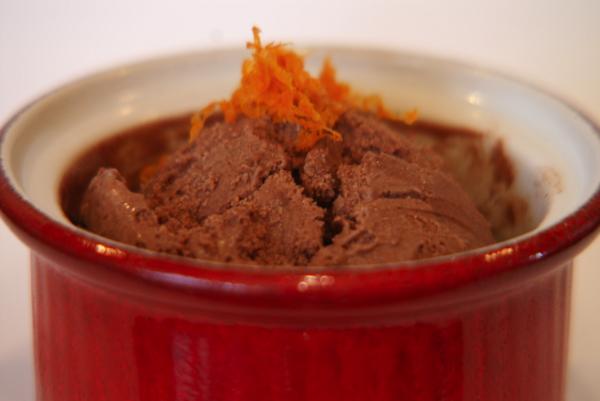
For the gelato I made in these photos, I used two bars of orange-flavored chocolate, but when I melted the chocolate the orange flavor wasn’t prominent enough. So I did end up adding about a 1/4 tsp of orange oil to the melted chocolate along with the vanilla.
A few recipe notes:
- When I made my recipe, I was using ingredients that had just come out of the fridge – so the milk, cream, and eggs were cold. When the melted chocolate mixed with the then-cold cream, I think the cold of the cream solidified some of the chocolate – when I ate it, there was an ever-so-slightly grainy texture to it that was like tiny little chocolate pieces. So I’d recommend that either you let your cold ingredients come up to room temperature before you use them, or you mix the cream and melted chocolate and microwave that a bit to make sure the chocolate remains completely melted before churning.
- Despite my inclusion of vodka, the gelato was still a little firm when I pulled it directly out of the freezer. I’m attributing this to the pudding-like texture it had before it went into the ice cream maker (thicker than most gelato recipes). This is part of what makes it so deliciously rich (see the point below), but I’d recommend letting it sit for 5 minutes or so before you scoop and serve it. It won’t require the same 15 minute rest on the counter if you’re using vodka in your recipe, but it does require a little time to think about softening first.
- This gelato is seriously rich, so don’t let your eyes be bigger than your stomach. I had two scoops after dinner the night I made it, and getting through that second scoop almost killed me. Eating gelato should never be a torturous experience. Enjoy this one in moderation, people.
One other note, which I offer as a cautionary tale to those of you who don’t want to lose an ounce of this precious gelato. When you’re stirring everything together, take care not to get too excited about how absolutely delicious the chocolate tasted when you added the orange oil, or how divinely smooth the mixture is coming together… Because your enthusiasm could lead to over-stirring, which could lead to spillage like this:
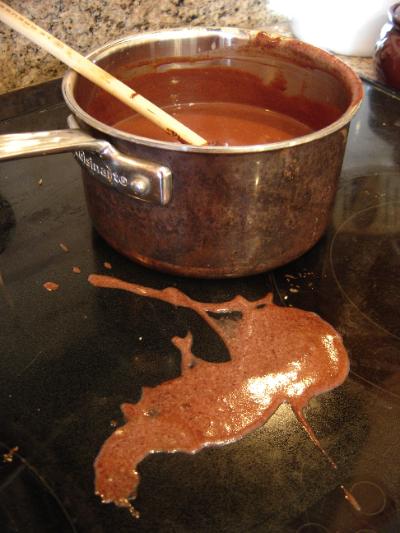
I really don’t want to think about how much gelato that liquid would have turned into later.
Gelato purists may note that real Italian gelato doesn’t use whipping cream or half-and-half, and that’s true. But this is the best way to re-create it at home with the kind of ice cream makers most people can afford to have in their own kitchens. If I could justify the cost of a $500+ ice cream maker, I could get away with using only whole milk – those machines are much better at mixing the gelato in such a way that the extra oomph of the whipping cream isn’t necessary. But until I open my own gelateria, I’m content to manipulate the recipe for authentic Italian gelato a bit so I can still enjoy my own homemade chocolate gelato.
For fun, I thought I’d try out my new Flip video camera and capture what I think is the hypnotic movement of the gelato in the ice cream maker as it churns. It’s almost ready to be removed from the machine at this point. I removed the sound of the machine from the video, because it’s unbearable, so you’ll have to put up with a silly guitar ditty instead. Enjoy.
Do you have a favorite gelato recipe I should try? Send it to me!
>> And don’t forget to try my super-quick no-cook strawberry gelato recipe, too.